Understanding the dxf File for Laser Cutting
The art and science of laser cutting rely heavily on the precision of digital file formats, one of the most significant of which is the dxf file for laser cutting. In this section, we will explore what a DXF file is, its importance in the laser cutting industry, and its common applications.
What is a dxf File?
A DXF (Drawing Exchange Format) file is a vector file type developed by Autodesk for enabling data interoperability between AutoCAD and other software applications. This format allows designers to encapsulate 2D and 3D drawings, thereby preserving intricate details and scalable graphics. Unlike raster files, DXF files retain geometric data, making them ideal for laser cutting where accuracy is paramount.
Importance of dxf Files in Laser Cutting
DXF files play a critical role in laser cutting due to their ability to convey precise vector information. This precision is crucial for the following reasons:
- Accurate Designs: DXF files maintain the integrity of the original design, ensuring that dimensions and placements are preserved during the cutting process.
- Compatibility: Most laser cutting machines support DXF files natively, streamlining workflow from design to production.
- Versatility: DXF files can represent both 2D cut path information and 3D model data, allowing for a wide range of laser cutting applications.
Common Applications of dxf Files
Various industries leverage DXF files for multiple applications, such as:
- Architecture: In architecture, DXF files help convert designs into physical models, assisting in presentations and project approvals.
- Manufacturing: The manufacturing sector utilizes DXF files for creating prototypes, machine parts, and intricate components.
- Arts and Crafts: Artists and hobbyists use DXF files for crafting custom designs, decorative items, and personalized gifts.
How to Create a dxf File for Laser Cutting
Creating a DXF file for laser cutting involves selecting appropriate software, designing your file correctly, and adhering to best practices. Let’s delve into each step.
Choosing the Right Software
The first step in creating a DXF file is selecting software that supports vector graphics. Popular options include:
- AutoCAD: This industry-leading software is known for its robust functionality and compatibility with DXF files.
- Inkscape: A well-regarded open-source vector graphic software that allows users to export designs as DXF files.
- Adobe Illustrator: Widely used in design, it supports DXF export, making it suitable for more artistic applications.
Steps to Design Your dxf File
Once you have selected your software, follow these steps to design your DXF file:
- Open a New Project: Start by opening a new document and selecting the appropriate dimensions for your design.
- Create Your Design: Use drawing tools to create shapes, lines, and curves. It's critical to ensure all elements are vector-based for optimal cutting.
- Export as DXF: Once your design is complete, use the export feature in your software to save your design as a DXF file.
Best Practices for Effective File Creation
To ensure your DXF file performs optimally in laser cutting, consider the following best practices:
- Avoid Complex Shapes: Keep designs simple to enhance cutting speed and precision.
- Use Consistent Units: Maintain consistency in measurement units (inches or millimeters) throughout your design to avoid discrepancies during processing.
- Test Cut Small Sections: Before executing a full cut, test smaller sections of your design to refine settings and techniques.
Preparing for Laser Cutting with dxf Files
After creating your DXF file, the next step is preparing for the actual cutting process. This involves setting up your laser cutter, selecting the right materials, and validating your file.
Setting Up Your Laser Cutter
Proper setup of your laser cutter is essential for achieving quality results. Key steps include:
- Calibration: Ensure your laser cutter is calibrated according to the manufacturer's guidelines to maintain precision.
- Load Material Properly: Secure the material firmly on the cutting bed to prevent movement during cutting.
- Adjust Settings: Set the correct power, speed, and frequency settings based on the material type and thickness.
Material Selection for Laser Cutting
Selecting the right material significantly impacts the outcome of your project. Common materials include:
- Acrylic: Offers clean cuts and vibrant colors, making it popular for display items.
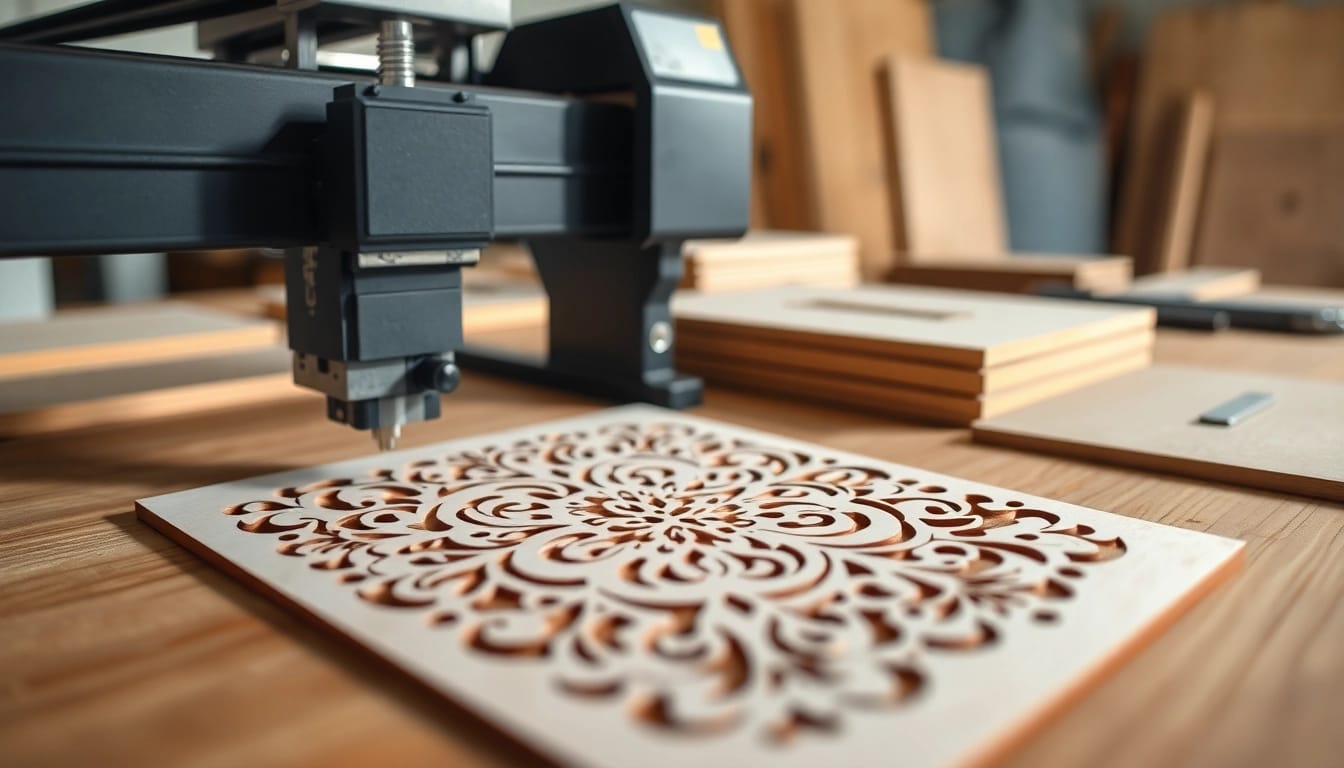
- Wood: Easily cut and engraved, wood presents a rustic aesthetic ideal for furniture and craft items.
- Metal: Requires specific laser settings but can create durable and precise components.
Testing Your dxf File
Before executing a full cut with your DXF file, it is prudent to run a test using a scrap piece of material. This process helps identify potential issues and ensures that the design translates effectively to the physical medium.
Optimizing Your Laser Cutting Projects
To maximize efficiency and outcomes, it's essential to optimize your laser cutting projects. This involves adjusting parameters, troubleshooting challenges, and enhancing design features.
Adjusting Parameters for Different Materials
Each type of material has unique requirements. Below are some adjustments to consider:
- Power Settings: Higher power settings are necessary for thicker materials. Conversely, thinner materials require lower power to avoid burning.
- Speed Settings: Slower speeds yield cleaner cuts, but be careful not to overlap to prevent excessive heat buildup.
- Focus: Properly focus the laser beam to achieve the finest cuts and engravings.
Troubleshooting Common Issues
Even seasoned professionals encounter problems during cutting. Common issues and solutions include:
- Inaccurate Cuts: If cuts are imprecise, check the calibration of your laser cutter and the integrity of your DXF file.
- Burning Edges: Adjust the speed and focus settings to prevent material damage.
- Material Not Cutting Through: Increase the power setting and ensure the material is properly secured.
Enhancing Design Features in Your dxf File
To make your projects stand out, consider incorporating advanced design features such as:
- Engravings: Add engravings to enhance designs and personalize items.
- Cutting Depths: Create designs with varying cutting depths for intricate detail.
- Interlocking Designs: Use interlocking features for parts that need to be assembled without adhesives.
Frequently Asked Questions About dxf Files for Laser Cutting
What formats can be converted to dxf?
Common formats that can be converted to DXF include SVG, DWG, EPS, and AI. Most vector graphic software provides conversion tools.
Can I edit a dxf file after creation?
Yes, DXF files can be edited with CAD software or vector graphic applications, allowing users to make modifications as needed.
Why is resolution important in dxf files?
Resolution affects the clarity and accuracy of designs, particularly for intricate details. Higher resolution yields smoother lines and better cuts.
How do I ensure compatibility with my laser cutter?
Verify your laser cutter's specifications and file format requirements. Use software that exports DXF files compatible with your hardware.
What are the common mistakes when creating dxf files?
Common mistakes include using raster graphics instead of vector, neglecting to clean up paths, and failing to check measurements before cutting.